Welcome to my Blog!


|
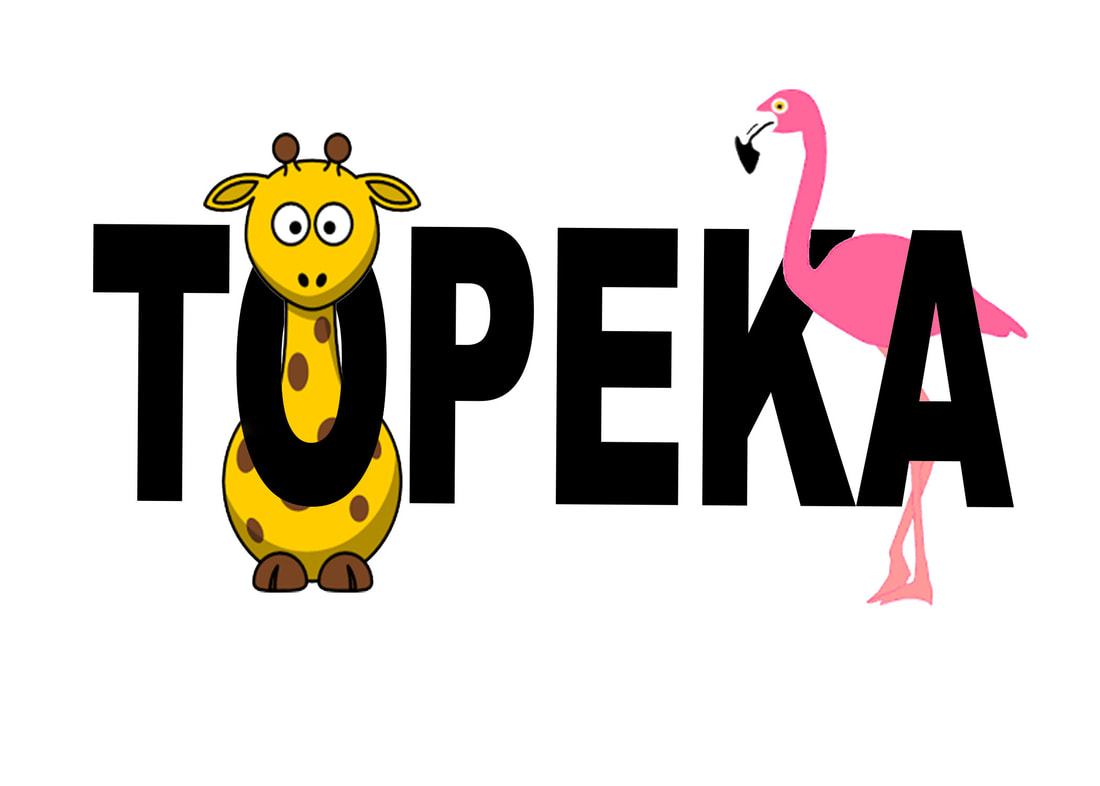
The tools we learned to use in illustrator were some tools like preference tool. The things we learned while being on the website adobe illustrator was fascinating. we put words and sentences into shapes and letters. We learned to cut shapes and fill the shape with a word. Adding little things to the shares were very educational and learning how to put your out blog post together is very beneficial in the future if we were to ever own a business. After moving on form illustrator we shifted to photoshop, which is very benefits for photographers. Photoshop we learned you make wrinkles go away blend pieces together, make man or women look like the opposite gender. We learned to change the background in picture and or even take them out wit ha magic eraser tool. Imbedding little things to a photo also took [lace in photoshop. We learned to delete item or move then with the cloning tool. The cloning tool allows you to take one part of a photo and make something different look exactly like what you cloned. Overall is thing my favorite tool was the cloning and blending tool those were very fun to work with you could really make an image look so real with these items. I learned how fun an easy changing photos can be or making a logo of some sort. In my future if I ever do open a store of my own I will use the logo design tools that helped us get the ideal image in our heads that I wanted. I can use this for making T-shirts of my own or making logos on items to sell. There are many way to use what we've learned that can be very beneficial. 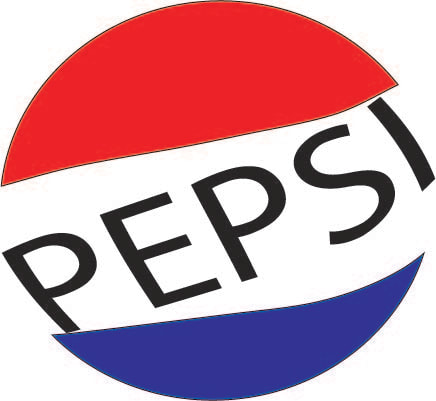 For my adobe illustrator project I just simply made the Pepsi logo. I did that by using a circle and dragging it to the size I liked and then I used the eraser tool to cut through the circle twice making it into three pieces. Then I separated the pieces and typed out the word Pepsi and arranged it to go behind the middle layer. After that I went under object and just mixed the layers to make one. Then I brought back the pieces above and below and just colored the pieces of circle that were brought back. 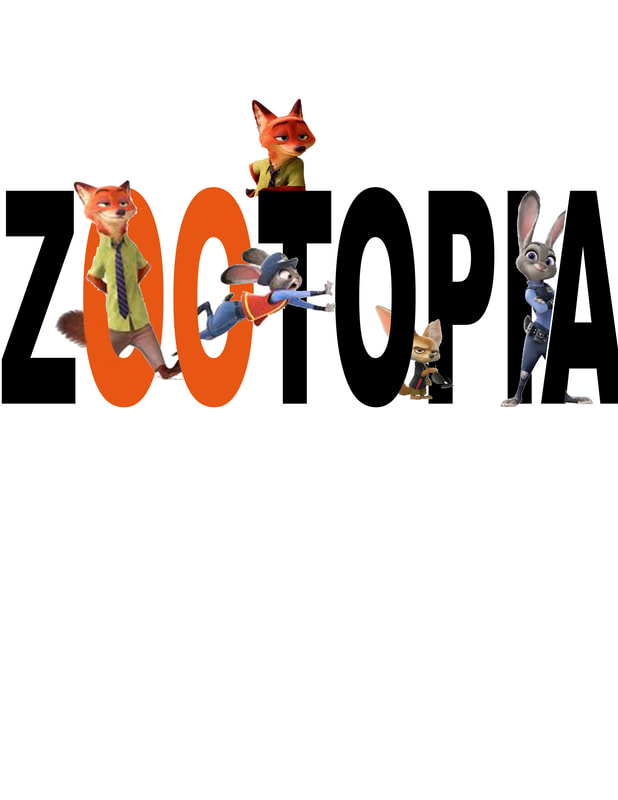 For my photoshop project I just make a word and brought out photos to make it look 3D. All I did was type the word Zootopia and then arranged it to the size and font that I liked, and brought in each picture one at a time. After having my word set up I went under file place embedded and searched for my photo and pressed return key for the image to be excepted. Then I used the magic eraser tool to get rid of the background and hit the return key and then adjusted it to my liking. After that I clicked on the circle inside the square underneath the layers to your right bottom corner and then held down the control key at the same time clicking on the T of your word layer. Then I clicked on the extra layer next to your photo and clicked on the painting brush and painted the part of the latter that I wanted to cover my image. After doing all those steps I just repeated them with every other photo I used in my image above!
0 Comments
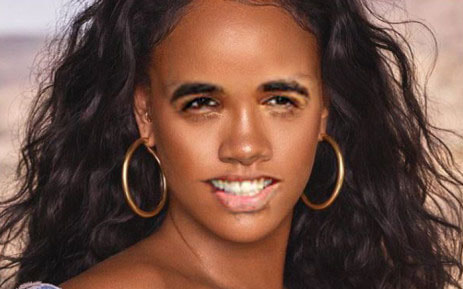
This was very easy and fun changing out the background of pictures. All that was done was the actual picture that is being used the background get erased with the magic eraser tool and then you bring in the background you want. just change the layers of how they are put, and you have your new background! In my tutorial I took a photo of a person and some colorful smoke and combines them onto one layer, and change the opacity on the clouds to low to see where to place them over your person. then bring back the opacity to 100% and use the original eraser and erase our the face and then you now have a person peeking out of the smoke.    This project was very unique it bring out some character in a word. 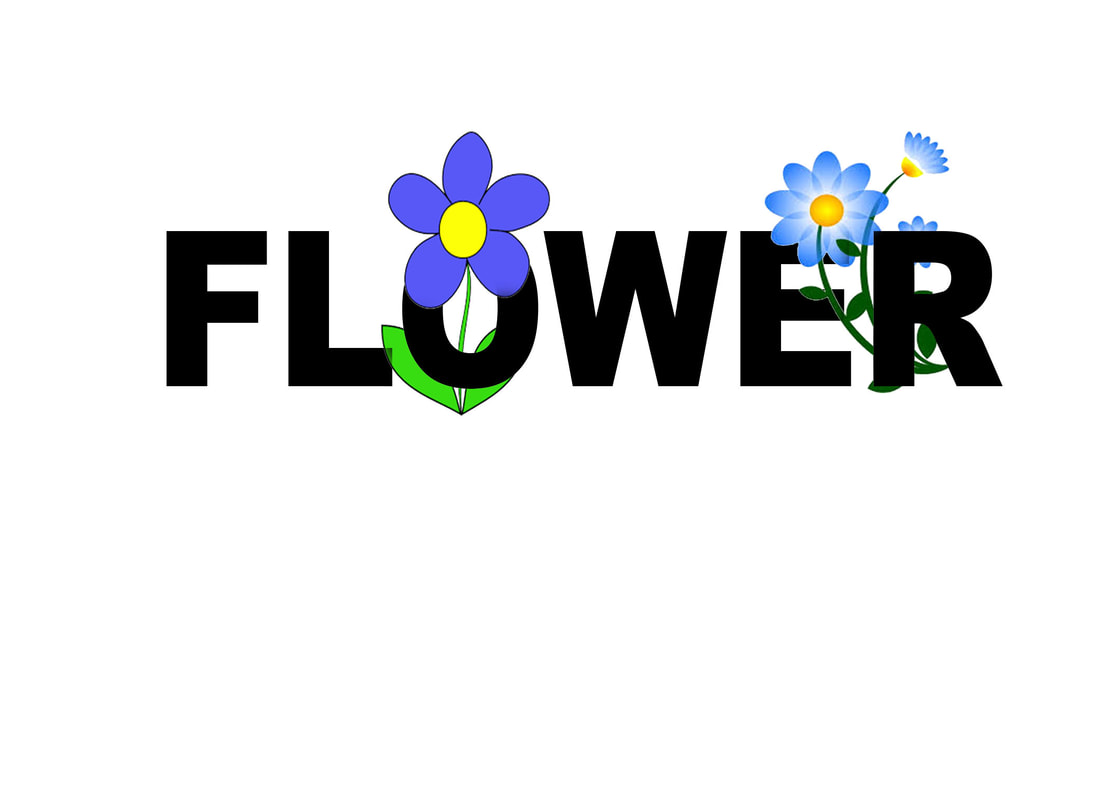 The tool that we used today changes the color of a photo along with how to get rid of a photos background. |


 RSS Feed
